Using generative art to create a pulsating SVG star
Published at 2019-04-12 by Hamza Haiken
Part 1 — Intro
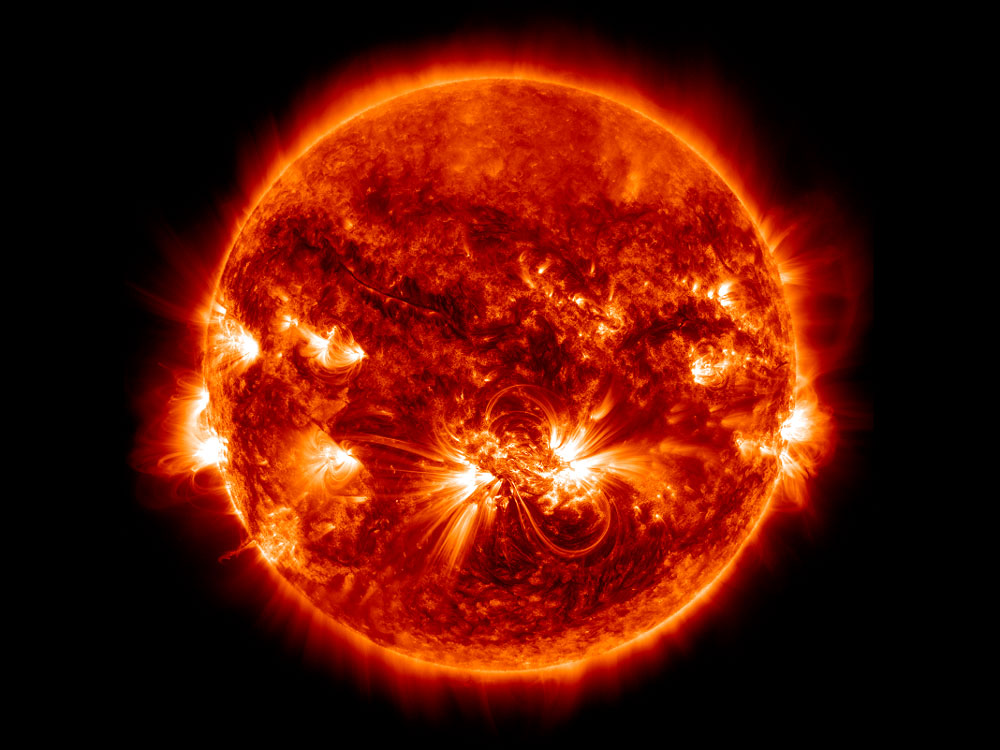
I recently created a new design for our recruitment campaign at Codestar. It represents a burning star, with corona-like features, represented in an abstract way, aiming to make it feel like a pulsating stream of data (The original artist for the star is Garry Killian).

The rest of the team enjoyed it, and we nicknamed this design "the code star". It was then suggested that we could try and recreate this as an animation for our website, or to simply just to generate as many different static stars as we want: a teammate's name could be used as a random seed, and they would be given their own special code star.
In this series of blog posts, I will endeavor to explain my process in taking on this challenge, going through various subjects, in particular generative art and SVG animation.
Our goal in this series will be to re-create the above visual in SVG, and animate it to make it slowly pulsate, like the sun’s corona.
What is generative art?
The term “generative art” (or also “procedural art”) refers the making of art algorithmically, typically relying on fractals and randomness.
Famous examples of this include: that one album cover that everybody wears on a t-shirt, Minecraft's infinitely expanding worlds, No Man's Sky's universe and planets, and many more.
For further learning about getting started in generative art (after reading this of course!), I recommend as starting points Generative Artistry and The Coding Train YouTube channel, which often takes on generative art challenges.
Noise
One commonly used tool in the field of generative art is noise — in particular, Perlin, or Simplex noise (which is more suited for animations since it has a lower overhead). It is used for a variety of results: terrain, smoke, clouds, textures.
This kind of noise is obtained by overlaying noise at different frequencies on top of each other, forming a cloud-like texture that expands infinitely in any direction. The nice thing about this method of constructing noise is that it can be expanded to support any number of required dimensions (in our case, a 3D space).
In a nutshell, Perlin noise is constructed by averaging noise rendered at several scales (bilinear interpolation is used to smooth out the lower frequencies):
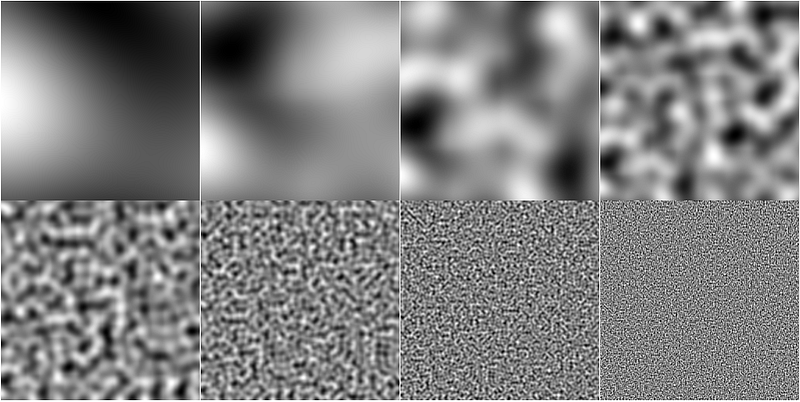
When averaging all of these (using some kind of weighted distribution), the following natural, cloudy texture is obtained:

Used creatively, this noise can be used to create impressive results, like this wood texture for example (and again, given the nature of Perlin noise, this texture can expand seamlessly in any direction).
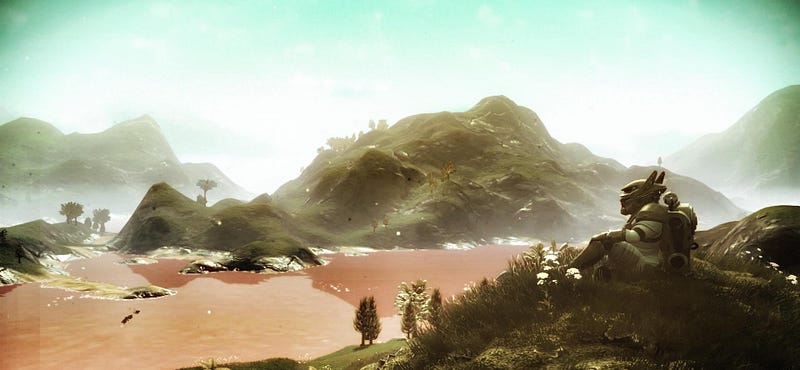
And here is an example from the game "No Man's Sky". The mountains in such a landscape are created using low-frequency noise (big features), the smaller hills on top of that come from the middle range of noise frequencies, and if you zoom in even closer the small dirt bumps are added on top of the hills by adding in the values of a higher frequency (this is like a fractal).
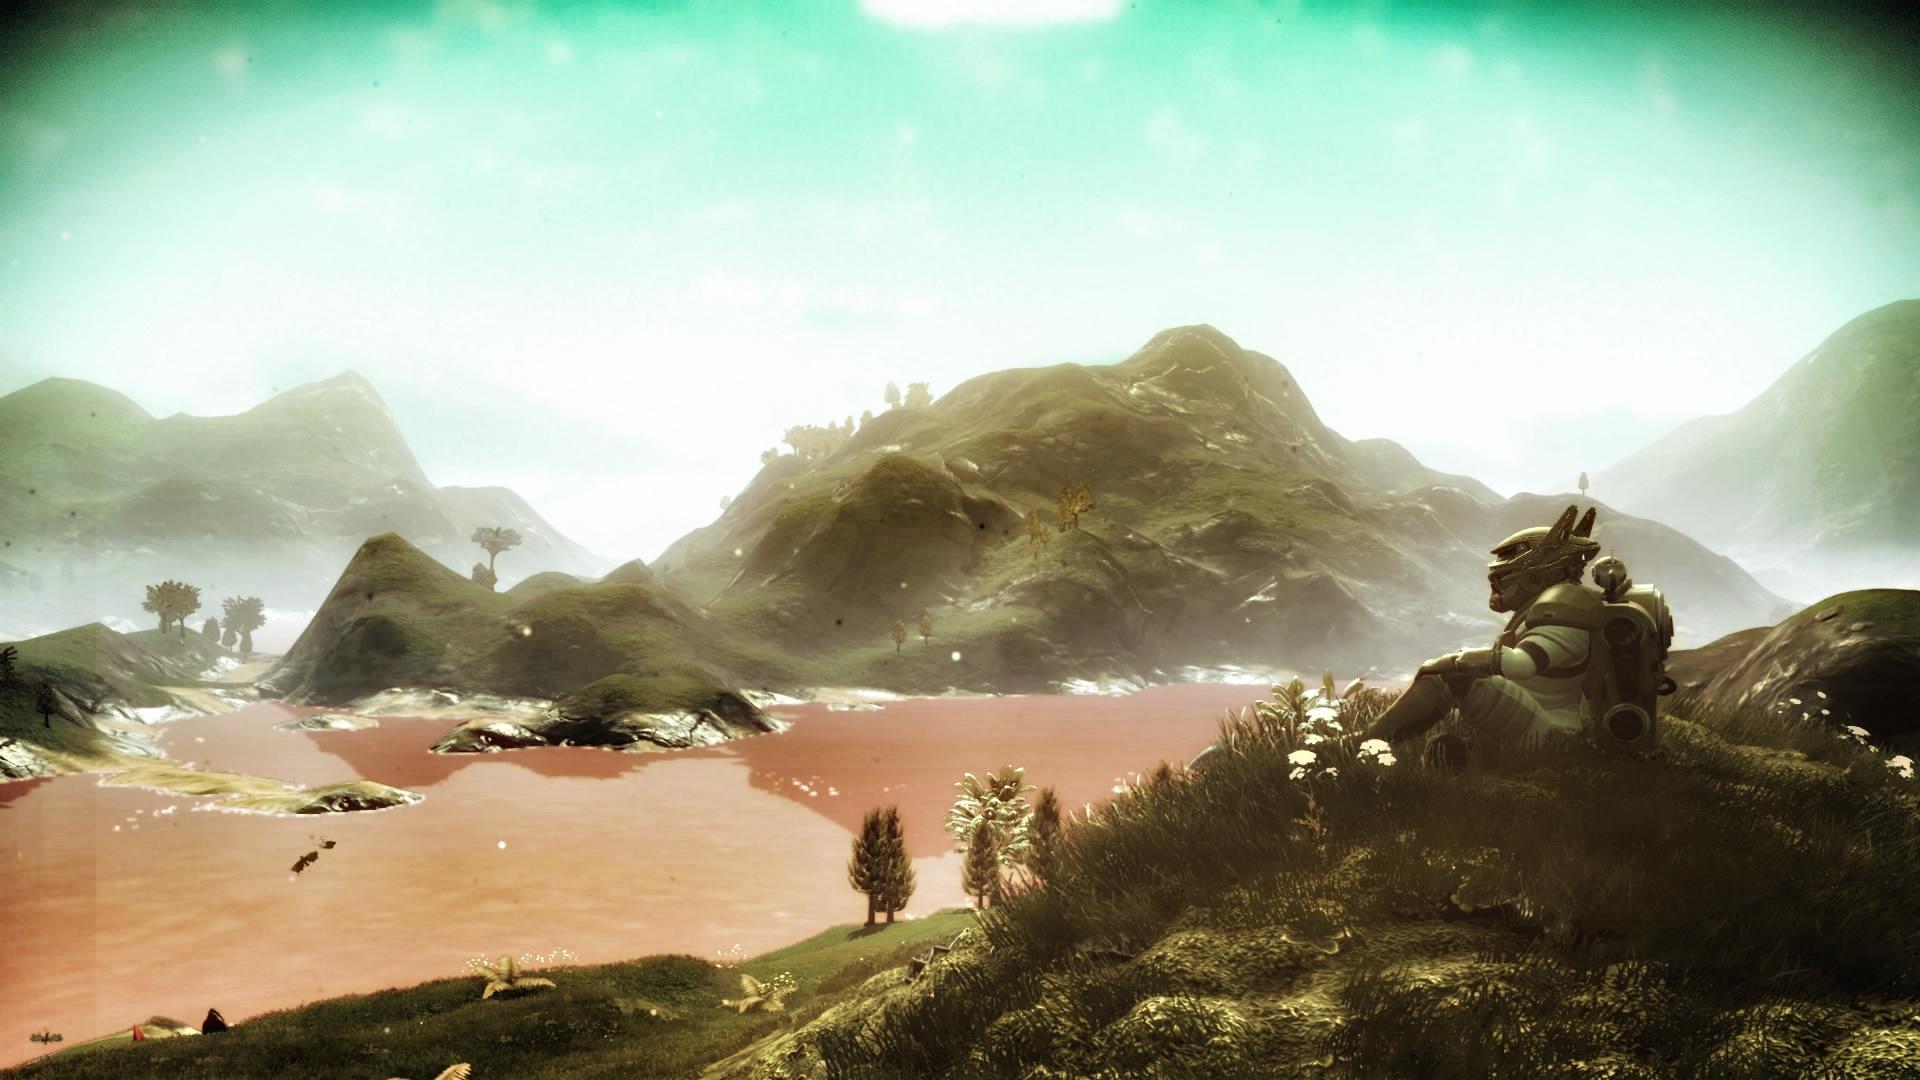
Using noise
One of the big advantages of Perlin noise: by traveling along its plane, the intensity values increase and decrease continuously. This is not only very useful for terrain generation for creating hills and valleys, but also for animation, providing offsets that will smoothly increase or decrease randomly in a natural way.
We will use simplex-noise.js for generating our noise. This is not Perlin but Simplex noise; it looks less detailed, and is faster to compute. The library provides a simple API: just instantiate a noise object with a random seed, which you can then use for getting noise values in 2D, 3D or 4D:
let simplex = new SimplexNoise("tutorial seed"); let value = simplex.noise2D(0.42, 13.37);
Precision can be as small as needed, effectively zooming in on the noise, and the whole 2D plane that can be represented with JavaScript numbers is available to us.
Here is a simple demo on how to use Simplex noise. Feel free to play around with the sliders, particularly with the z-axis (slowly).
[Embedded media omitted] ✍︎Try moving in the X and Y directions, then slowly scroll the Z slider
Moving along the X- and Y-axes feels natural to us humans — it just looks like standard translation — but it shows us that the noise is indeed continuous.
Moving along the Z-axis, however, gives a totally different feeling, exposing the vertical continuity of the noise by showing us slices of what seems to be an animation.
The color values at a given pixel coordinates change continuously and smoothly while navigating along the Z direction.
This is a big clue; by using the Z-axis to represent time, we can now animate things.
But before we can animate, we will first need a drawing!
Coming up in this series
Stick around on the Codestar blog to catch the next parts in this series:
- Drawing the basis for the SVG star: basic Snap.svg tutorial
- Mapping star element coordinates using the Simplex noise as a displacement map: some trigonometry and calculus
- Animation: bringing everything together, and using Tweakpane for playing around with the settings
- Making a tool for outputting static SVG images using a string seed for generating a random star